
Emery Dress Sewalong: Zipper & Bodice Lining
Today on the Emery Dress Sewalong, we are going to close up the back of our Emery Dress with the help of an invisible zipper, and sew in the bodice lining! A big post with a lot of information and photos, so here we go!

INSTALL THE INVISIBLE ZIPPER
I know many sewers panic when it comes to installing zippers, and I totally get it. When you sew a regular zipper, all the stitching that is on the outside of the garment must be done perfectly, or it just looks terrible. But the great thing about sewing an invisible zipper is that all of the stitching is on the inside of the garment! No exposed stitching at all! So as long as you follow these handy tips, you should have a picture-perfect zipper every time!
Prepare the Garment
I like to interface the seam where the zipper is to strengthen it. It also helps to keep the fabric from rippling. If you'd like to try this, simply cut 1" strips the length of your zipper. Be sure to use lightweight woven fusible interfacing.

Repeat so you have two 1" strips, one for each side of your zipper seam.

Line up the interfacing on the seam so the sides are together and it is flush at the top of the seam. Press in place with a hot iron. At the waist, simply cut the strip so it doesn’t get pressed over the seam allowance.
After interfacing, finish the edges of the fabric on the seam where the zipper will be going. You won't be able to do this afterwards, so take a moment to do it now. After sewing, press the fabric flat so it is flat and ready for the zipper!

Prepare the Zipper
The best way to install an invisible zipper perfectly is with an invisible zipper foot. This foot has two channels that the zipper teeth sit into. This ensures your stitches are close, but not too close, to the teeth. If there’s a gap you will see part of the zipper, and if you’re too close, the zipper can be hard to open and close.
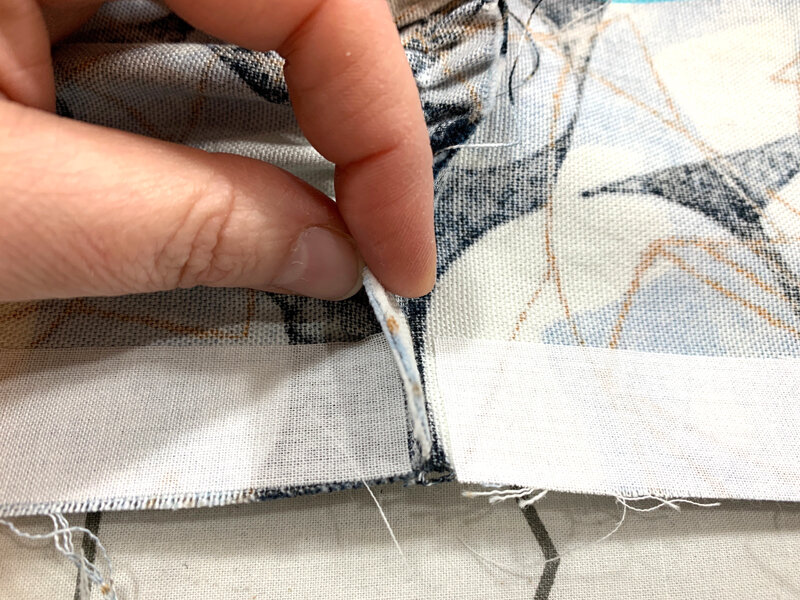
In order for the zipper teeth to sit perfectly into the channels on the foot, the teeth need to be pressed up so they’re standing at a 90-degree angle to the zipper tape. When it comes out of the package, the teeth are curled towards the tape.
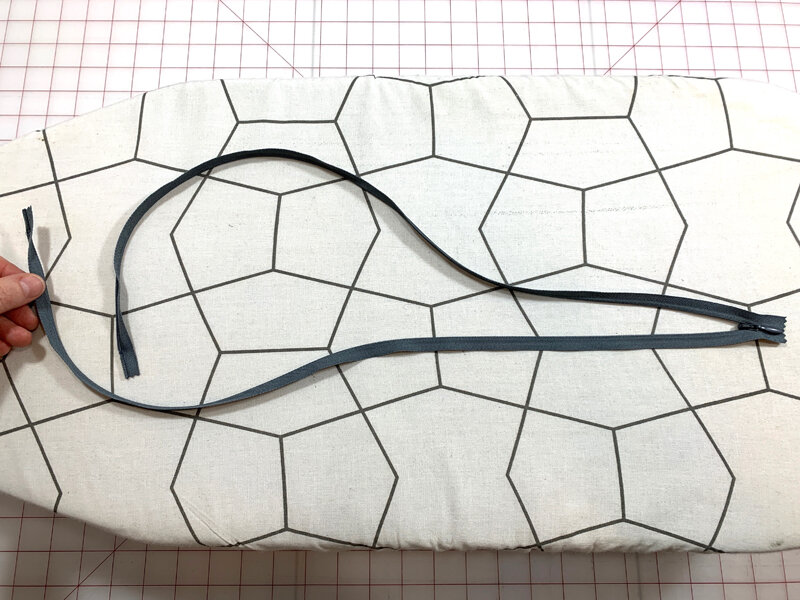
Open your zipper as pictured below, so the pull is down at the bottom.
Carefully take your iron and press the teeth away from the zipper tape. But be careful not to over press it! The key is to get the teeth of the zipper standing straight up so the tape and teeth form a 90-degree angle. Do not press the teeth flat!

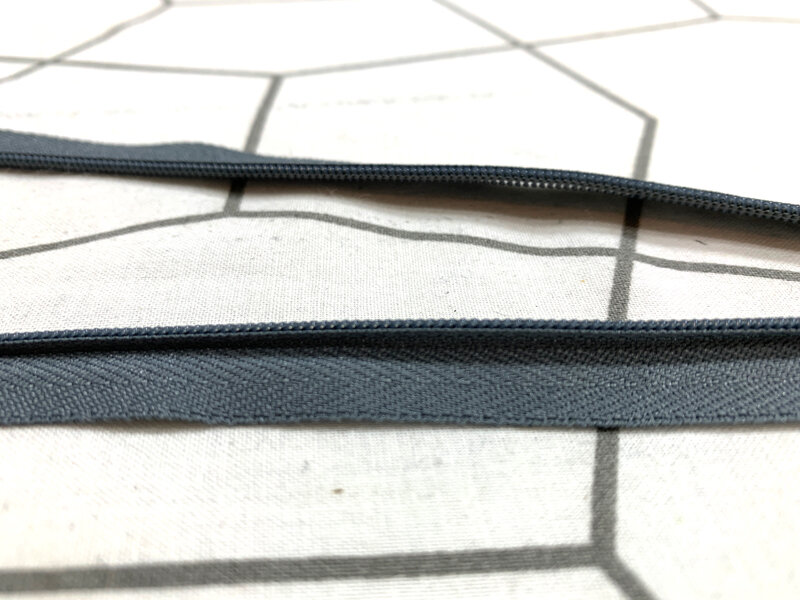
In the image below, the teeth closest to us are perfectly pressed at a 90-degree angle. This is what we want it to look like. Not curled towards the tape, and not flat. Standing perfectly upright!
Sew the Zipper Into the Garment
Place the zipper on the right side of the fabric, with the zipper teeth up and the right side of the tape on the fabric. Remember, on an invisible zipper, the right side is the side with the pull, and the wrong side is the side with the teeth.

For the Emery Dress, the zipper stop at the top of the tape should be 5/8" from the neckline. And since our seam allowance is 5/8" the spot where we'll be sewing the zipper, just to the right of the teeth, should be 5/8" from the edge of the fabric. Once in position, pin in place at the top of the tape.


Install an invisible zipper foot on your machine. Place the teeth of the zipper in the left channel. That way the stitching will land to the right of the teeth, sewing the tape to the fabric.

Back stitch at the top and keep the fabric at your 5/8" seam allowance. The teeth should simply ride inside the channel, keeping the zipper in place along the way. Back stitch at the bottom as close as you can to the pull.

Before we pin the other side down, we want to mark on the zipper where the side we just sewed down hit the waist seam. This way we can place the other side of the zipper at the waist seam in the same spot, ensuring that our waist seam will line up perfectly!
Close the zipper up so it’s past the waist seam. Grab a marking tool, and on the wrong side of the zipper, mark a line at the waist seam.

Unzip the zipper all the way to the bottom. To pin the other side down, the zipper needs to be rotated twice to the right so the right side of the zipper is on the right side of the fabric.

Line up the mark you made on the zipper tape and pin it in place at the waist. Remember the teeth need to be 5/8” from the center back edge of the fabric.

Pin the top in place just as you did on the opposite side, then pin in between. This will ensure that the top edges will line up, and the waist seams will line up.

Place the zipper teeth in the right channel, placing the stitching just to the left of the teeth. Use your seam allowance on the left of your presser foot and stitch from top to bottom, placing the fabric to the right of the presser foot. This can be awkward, but it is best to sew the zipper in the same direction on both sides. If your machine doesn’t have seam allowance markings on the left side of the foot, simply measure and mark it with some removable tape.

Sew all the way down to the end of the zipper, making sure to keep the waist seam mark in place when you go over it.
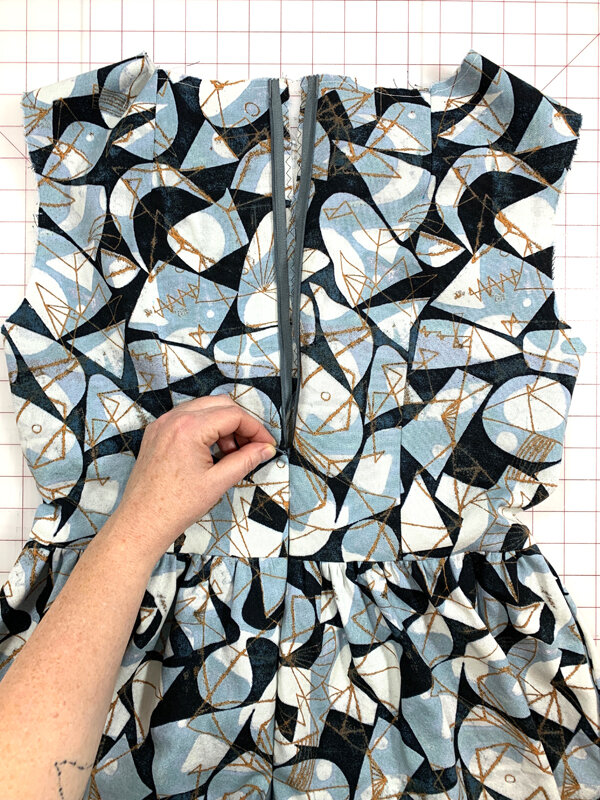
Flip the bottom of the zipper into the bottom of the skirt and zip the back of the dress closed. If everything went according to plan, your seams line up perfectly and the zipper sinks into the seam and becomes invisible! Yay!
Finish the Seam
To finish up the rest of the seam, pin the seam allowance in place from the bottom of the zipper to the hem.

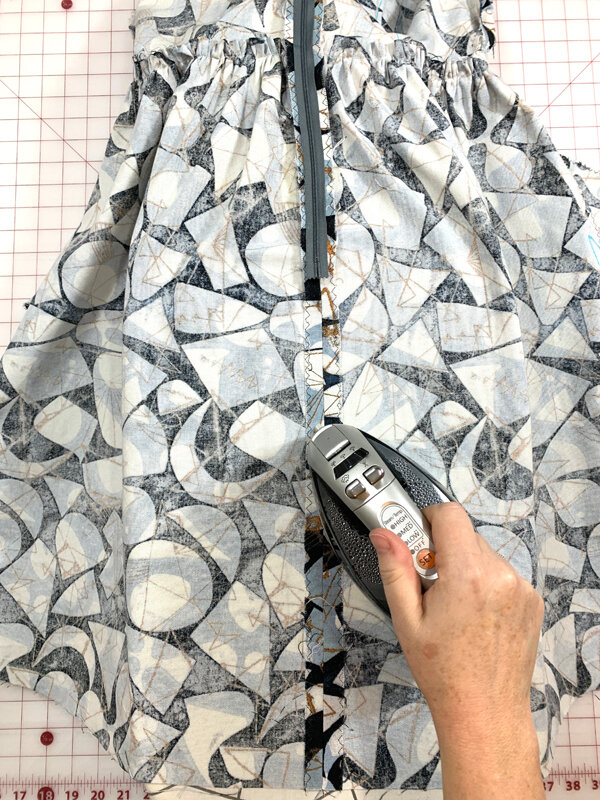
Install a regular zipper foot onto your machine and sew just along side the stitching at the bottom of the zipper, overlapping the stitching about 1". Continue to the bottom of the skirt.

Press the seam open and press the zipper area on the right side of the fabric. Be mindful if your fabric is delicate! if the zipper pull is annoying, you can hand tack the bottom of the zipper tape to the seam allowance with needle and thread.
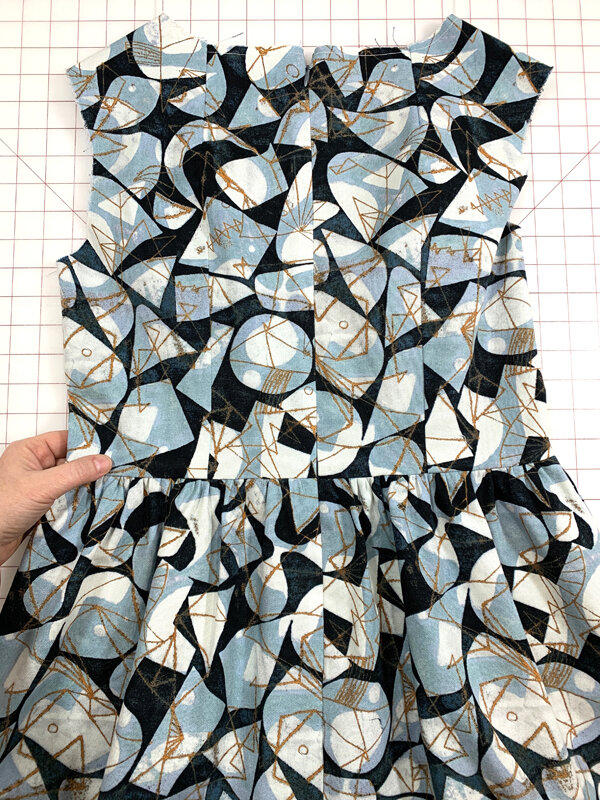
You should now have something that looks like the image below!
INSTALL THE BODICE LINING
Prepare the lining
First, we are going to prepare the bottom of the lining. Simply fold up the hem on the lining 5/8" and press.
Attach the Lining
Next, place the bodice lining on top of the dress bodice, right sides together. Line up at seams and pin all the way around the neckline. At the center back, open up the zipper so the seam allowance is flat, and pin the bodice lining to the dress bodice along the center back. Also make sure to open the fold at the hem of the lining, as we are only going to sew to the crease in the fold and not past it.
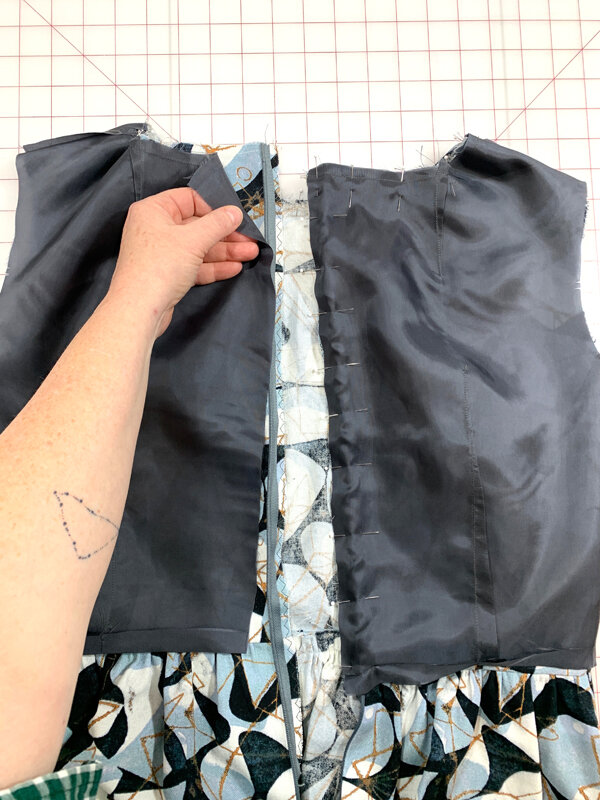
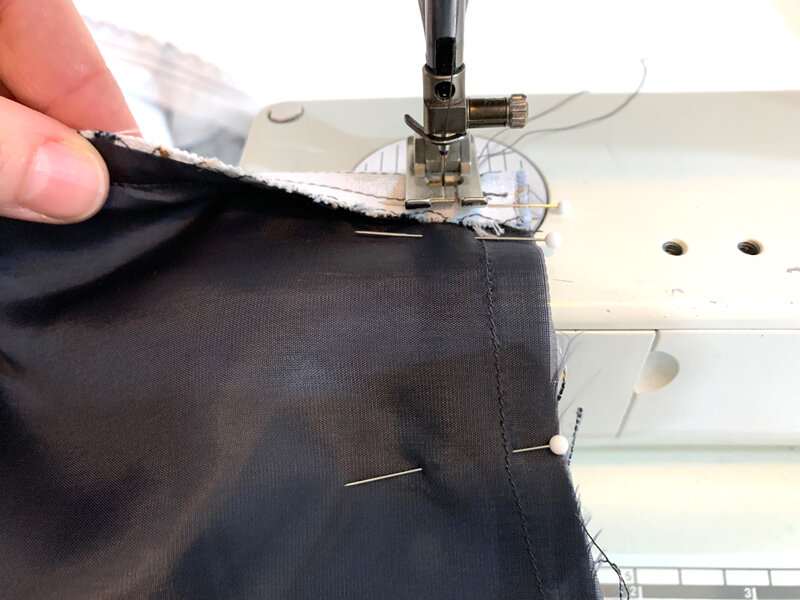
Put a regular zipper foot on your sewing machine and sew through the bodice lining, zipper tape, and dress bodice, as in the photo below. Be sure to stop when you hit the fold in the lining.

At the top of the center back, fold the zipper and seam allowance toward the back bodice and pin in place.

Sew around the neckline at the 5/8" seam allowance. Sew directly over the folded corners at the top of the zipper. I always am extra careful as I’m sewing over the zipper teeth to make sure I do not hit the zipper stop at the top of the zipper with my needle.
Continue around the neckline, staying at the 5/8" seam allowance, until you’ve sewn over the fold on the other side of the center back seam.

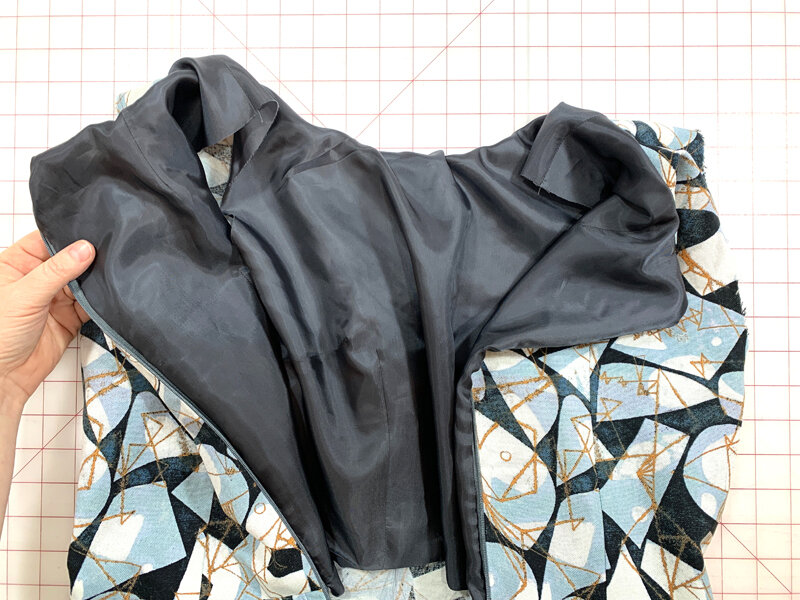
It should now look like the image below, with the center back seam sewn and the neckline sewn with the top edges folded away from center.

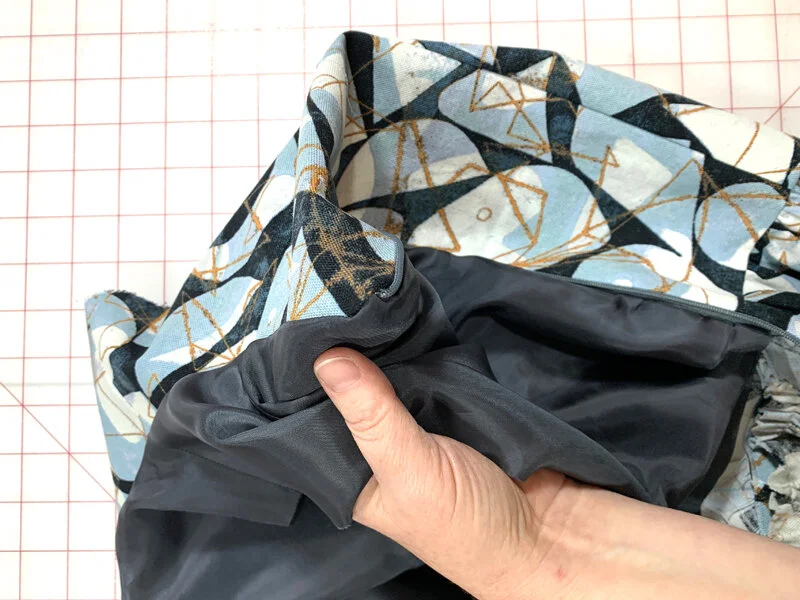
Flip the lining into the bodice, wrong sides together. I prefer to grade and trim my seams after understitching, so at this point, I have not trimmed anything yet.
Poke out the corners with your fingers, but do not bother getting them too perfect yet, as we will do that after we understitch and trim.
Next up is understitching. If you’ve never done this before, understitching is where you sew the lining to the seam allowance. This keeps the lining on the inside of the bodice and prevents it from popping out to be seen. It can feel awkward to sew, and like staystitching, it might seem like a step you can skip, but trust me when I say that understitching is a serious game changer. Please do not skip this step!

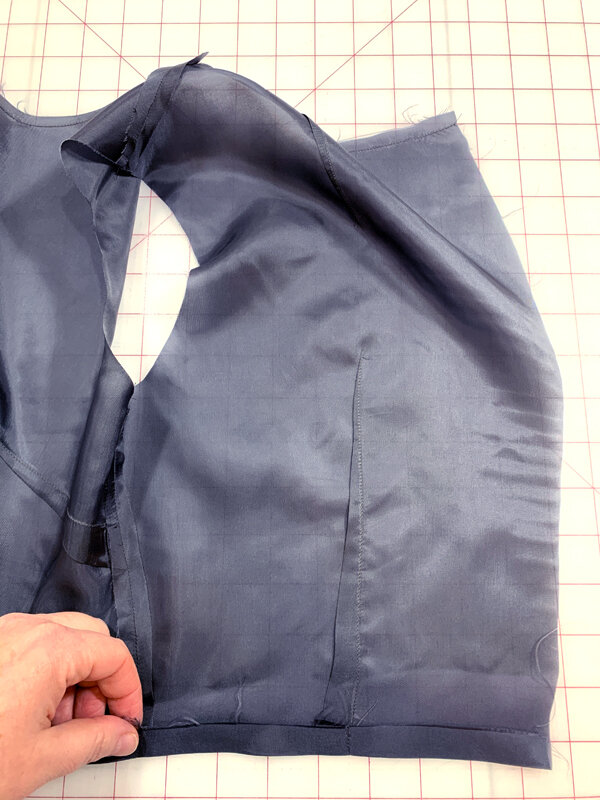
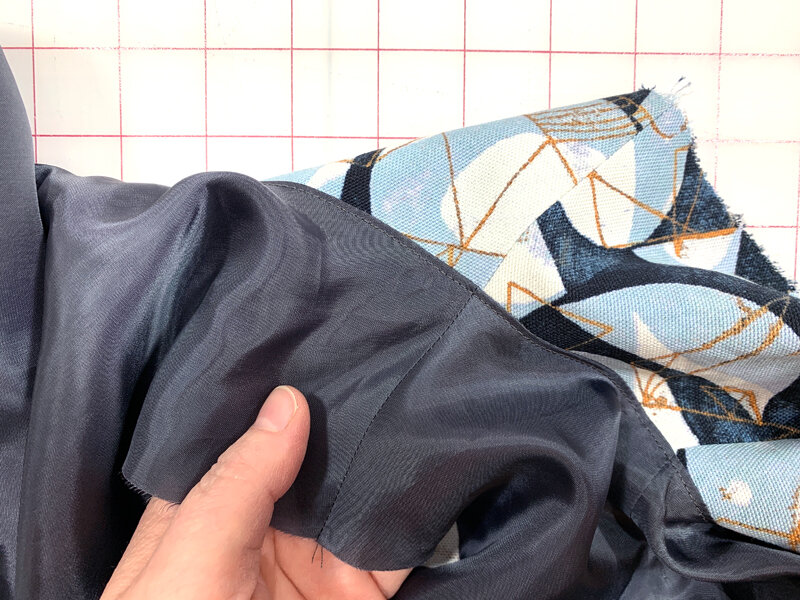
Start by opening up the lining as much as you can. In the image above, the dress bodice is on the left, and the bodice lining is on the right. This is the neckline seam, and the seam allowance from when you sewed the lining along the neckline is under the lining, so when we sew through the lining, we are catching the seam allowance at the same time. Put your foot as close to the center back corner as you can. It can be hard with the corner of the zipper to get to the center back, so do the best you can and start as close as you can to the top of the zipper.

Continue around the entire neckline until you reach the other side of the center back. Again, get as close to the corner as you can, but know that you won’t get all the way. It’s okay!
Your understitching should look like the image above once you are finished. The stitching is through the lining and seam allowance, on the lining side of the neckline seam.

Now it is time to trim! Along the neckline, grade the neckline so it is less bulky and has a smooth curve. For my sample I graded the layers of the lining and bodice so they are at two different lengths for a smooth gradation on the inside of the seam allowance. The outermost layer (in this case, the bodice) should be the longest so the others are hidden underneath when viewed from the right side of the garment.

Turn the corner right side out and poke the corner out with a point turner. If you don't have a point turner, you can use anything else as long as it doesn't have a sharp point at the end.

Because you understitched, when pressed, the seam will naturally roll to the inside of the bodice. Give the entire neckline a good press, keeping the lining on the inside of the bodice. Using a pressing ham can really help with this step.
Hem the Lining
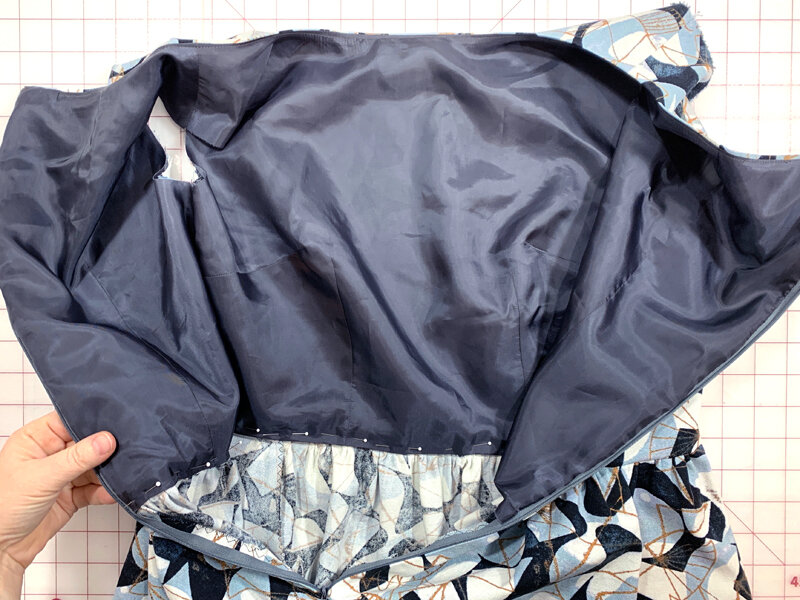
Pin the hem of the bodice lining in place, so the bottom of the lining is just above the stitching at the waist seam. This should cover up the seam allowance along the waist. When sewing linings, remember that a little give in the lining is actually preferred. If the lining is too small, it will cause the outer to billow, since the lining will be pulling it tight. So do not over fit the lining, and allow it to have a little give.

Use a hand sewing needle and thread to secure the hem of the lining to the seam allowance around the waist seam.