


Kila Tank Virtual Workshop
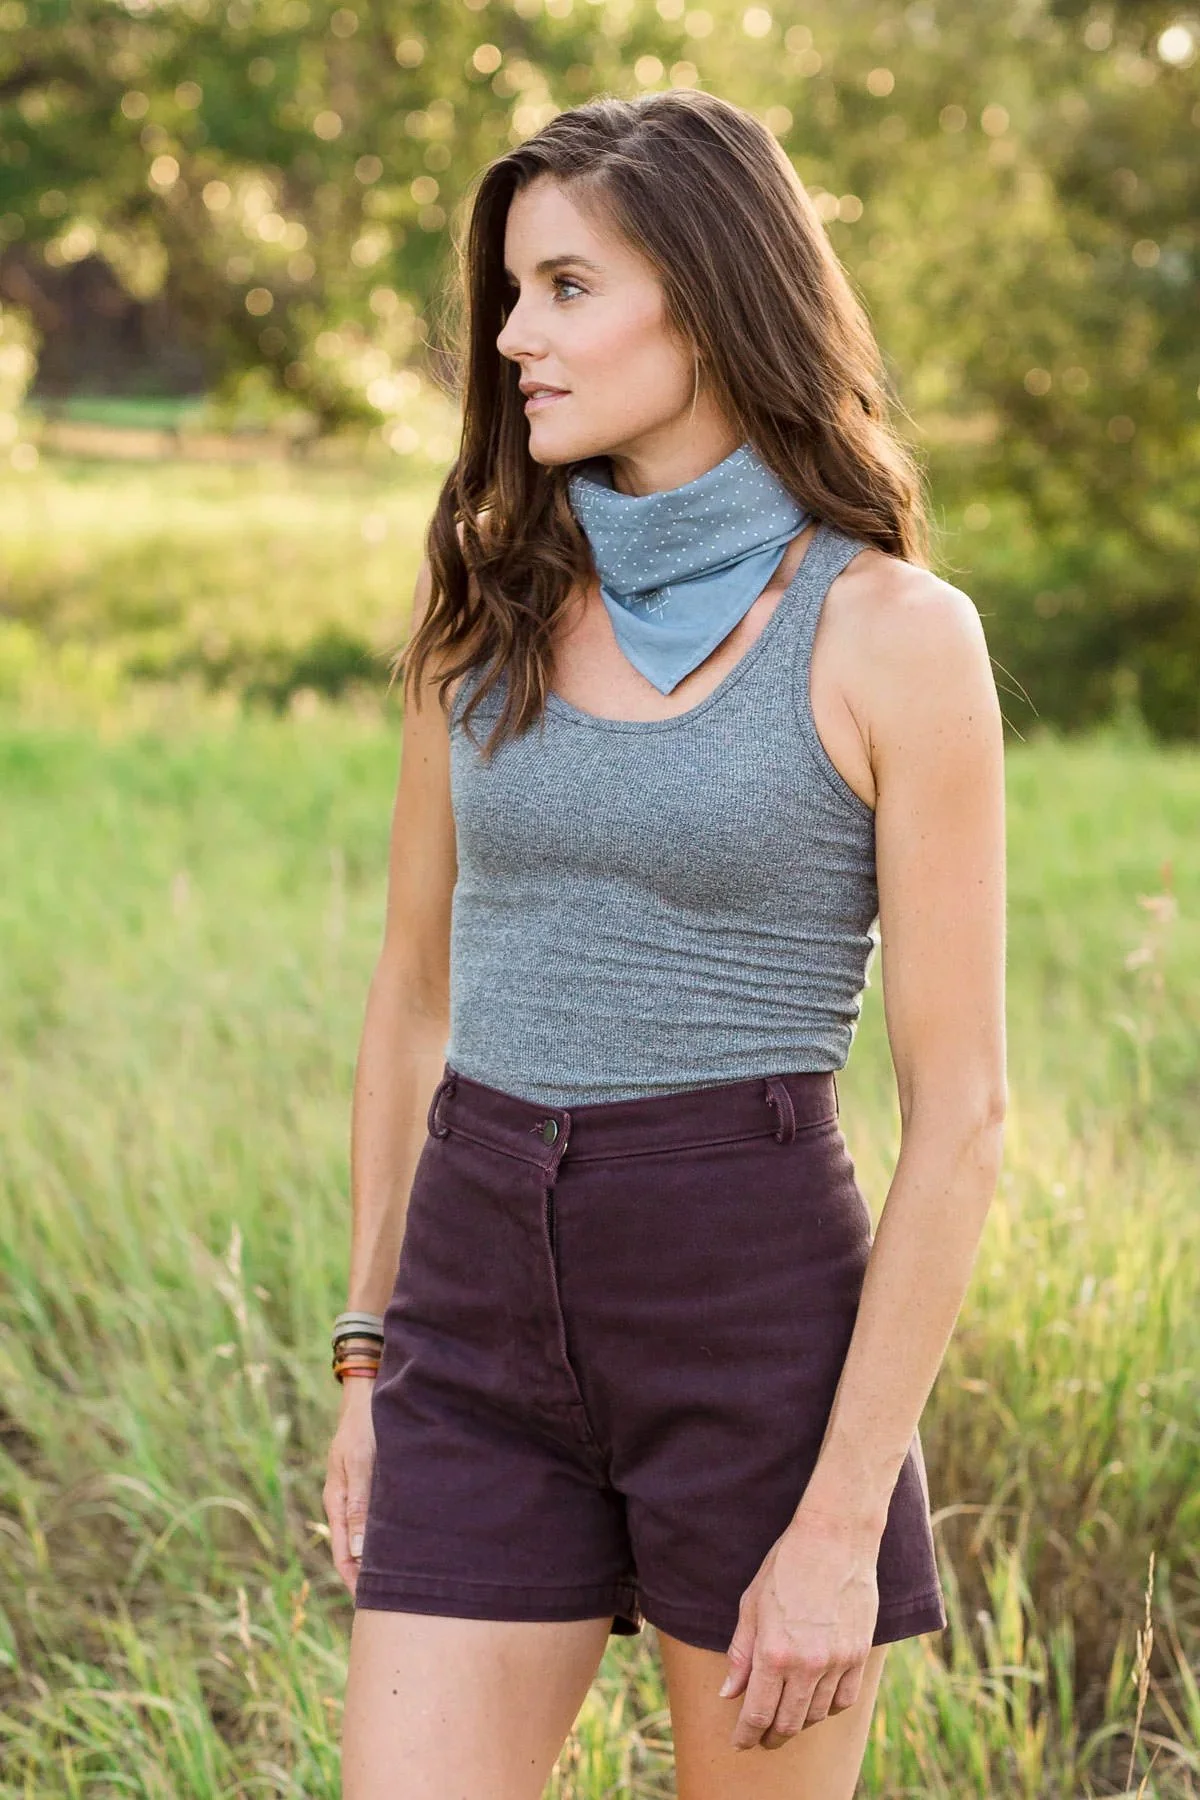
You know what everyone needs in their closet? A classic ribbed tank! And you know what makes it even better? A scalloped edge! Join me to learn to sew the classic Kila Tank pattern from Allie Olson, & I will also teach you how to sew the scalloped edge treatment on the neckline & armholes! This is a quick & satisfying make that we will squeeze into one class!
This is a 1-part class, with 3 hours of class time. Note: to keep this class to one session, there will not be a prep class. However, I am available via email to assist with sizing & fabric questions before class starts!
WORKSHOP DATES:
Saturday, July 26, from 12-3pm Eastern - Construction class 1
SUPPLY LIST:
The Kila Tank (bust 32-57 1/2” - B & D cup options available) by Allie Olson.
1 - 2 yards of ribbed knit fabric, made with cotton or cotton & spandex. Cushion the requirements in the pattern since knits shrink more, & we need some scraps for testing the scalloped edge stitching. For fabric, I would avoid anything called a “sweater” knit & I would stick to 100% cotton or a cotton & spandex blend. Some good choices are the Pointelle Knits from Lyrical Fabrics, the cotton rib knit collection from Sytlemaker Fabrics, cotton rib knits from I See Fabrics, cotton rib knits from Stonemountain & Daughter, the organic cotton rib knits from Nature’s Fabrics, & similar options. If you are unsure of your choice, please contact me!
Thread
Optional: A 40./75 stretch twin needle for hemming & stitching down the binding. Note: you can also use a zigzag for these steps.
TOOL LIST:
Sewing machine with stretch stitch options, or with a zigzag stitch. A serger can also be used for sewing seams. To do the scalloped edging, you will need a stitch that sews straight & then jumps to the side. See the last image above to see the stitch on my machine that I use for this technique. You will need something similar to achieve the scalloped look.
Iron & ironing board
Sewing needle for your fabric weight & type
Full sized scissors & small scissors for trimming (highly recommended)
Seam gauge or small ruler
Water soluble marking tool
Clear ruler, at least 2” x 18” (for putting your pattern pieces on grain during cutting)
Flexible tape measure
Please note: tools & supplies are sold separately & are not included in the class fee
SKILL LEVEL:
Advanced beginner: This is a great first knit project. If you’ve made a woven project or two in the past & are ready to take on knits, this is perfect! Note: this is not a “learn to sew” workshop, but it is an ideal first knit project.
WHAT YOU WILL LEARN:
Using a serger & a regular home sewing machine to sew seams with knits
Topstitching knits
Binding & hemming knit fabrics
Sewing a scalloped edge on knit binding
Using a commercial sewing pattern
Reading & understanding commercial sewing pattern instructions
Printing & assembling a digital sewing pattern
Taking your measurements
VIRTUAL WORKSHOP DETAILS:
Workshops are taught by me, Christine Haynes, live from my home studio
Attendance is limited to ensure personal one-on-one attention
Workshops are led virtually through Zoom, a free video conferencing software that can be downloaded here
Students will need access to a computer, smart phone, or tablet with internet access to participate in the workshop (note: the bigger your screen, the easier it is to see the action!)
I teach using two cameras, so you can always see a close up of each step being taught, as well as have face to face interaction
A Zoom link & password will be emailed a day ahead of the first class session to the email address used in checkout, so be sure to type your email correctly upon checkout
Workshop sessions will be recorded so students that get behind, or need to miss a session, can rewatch the previous lesson & catch up
The focus of my workshops are on construction & technique. Fit is discussed, but due to the nature of Zoom workshops, fitting instruction is limited